
In this case, we need to add additional support to the design. I'm going to turn on the visibility of a Sketch that I have created, that is just a single line.

Then I'm going to go to CREATE and Rib.

Select that Sketch that I created and immediately we see the preview.

The Thickness Options are Symmetric or One Direction.

Symmetric is the one used most often. I initially started with a thickness of 10 mm. I can dynamically drag that out. Set it back to 10 mm.

And I can Flip Direction.

This solution is correct but in some occasions you may have to flip that direction. Click on OK. Turn off the visibility of the Sketch.


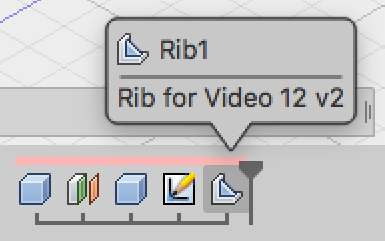
We can see we still have a single body and in the Timeline the Rib has been added.
I can double-click on that and for example I can alter the thickness from 10 mm to 8 mm. Click on OK to finish.

No comments:
Post a Comment